27 May Background Remove using Alpha Channel Masking in Photoshop
Why Alpha Channel
Alpha channels work in the same way as layer masks. The difference is that Channels can work any layer, where are masks only affect the layer that they are on. The purpose of this tutorial is to help you understand how Alpha channels work and to shed any remaining fear you may harbor towards channels. To follow along with this exercise, load up a document with 2 layers and a different picture on each layer.
Alpha Channel Masks in Photoshop
After selecting a part of the image, the image outside the selection will be masked (it will be protected from editing). Generally speaking, all kinds of masks provide protection for selected areas of the image against changes introduced in other areas (such as changes in color or the use of filters). Masks can also be used on the occasion of complex editing activities, such as gradual color or filter application.
In Photoshop, the primary colors (RGB, CMYK, Lab or Indexed colors) have their own channel. It is possible to add an extra channel, not for a color but for a selection. This selection can then be used as a mask so that a part becomes detached. The great advantage of an alpha channel is that it can also include transparency to remove the background.
Masking with Channel
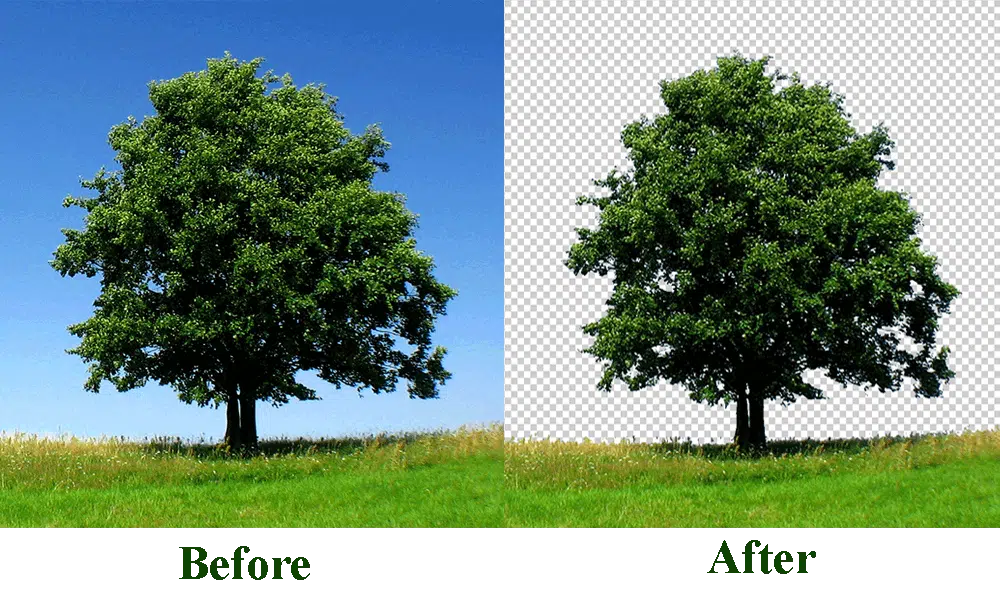
When we want to select complex parts from a photo, as in the image below where I want to select that tree under the sky, we can make use of masking of Alpha channels.

Step 1: To do so, open the “Channels” panel (1).

Step 2: You should know how to do this, but if you have forgotten, click “Window” (2) in the menu bar, and choose “Channels” in the drop-down menu.

Step 3: Here we will select only “Blue (Channel)”.

Step 4: Just copy that “Blue (Channel)”.

Step 5: Then go to the “Image-Adjustment-Threshold” and click on it.

Step 6: Here we can adjust that “Threshold Level” as much as we need.

Step 7: There have few white dots on the grass.

Step 8: We can remove those white dot by using brash with black color.

Step 9: Now here we will click “Load Channel as Selection”.

Step 11: Then delete that “Blue Copy” layer.

Step 11: Now here we will select Layers option and then press “Inverse” from “Select” bar.

Step 12: Here we will select “Add vector musk” and finally we got that tree and land with Background Removed by using “Alpha Channel Masking” in photoshop.
Hope you like this tutorial. You can contact us if you need to remove background using Alpha Channel Masking. If you need clipping path, alpha channel masking, photo editing service for your product image then please let us know, our photo editing expert team always ready to help you for your images.
Soon we publish more interesting Photoshop Tutorials so Please Follow and Subscribe us.
Sorry, the comment form is closed at this time.